The laser-cutting process uses a powerful, focused laser beam to cut through materials. It’s a precise method that allows you to cut complex shapes and patterns out of metal, plastic, wood, and fabric. Laser cutting emerges as a transformative technology, revolutionizing industrial processes with its unparalleled accuracy, efficiency, and ability to process a wide range of materials.
Read on to understand the laser cutting process and explore how you can transform ideas into tangible products:
1. Conceptualization And Design
Laser cutting begins with understanding the end goal and creating an initial design. At this early stage, designers collaborate to ensure the concept achieves the client’s vision and lends itself to laser-cutting manufacturing.
Computer-aided design (CAD) software enables the creation of a detailed blueprint outlining the exact dimensions, forms, and patterns for production. Choosing a suitable material is crucial during the design phase. Different materials have unique properties that require specific laser settings and machines.
2. Material Selection
Choosing suitable materials is vital for achieving your design goals. Consider the end-use application and aesthetics you want. Metals like steel and aluminum offer durability but can reflect laser energy and require higher power settings.
Alternatively, plastics like acrylics produce smooth edges but have lower melting points. Wood offers an attractive natural look, though it carries a fire risk. Paper and cardboard work well for temporary prototypes before cutting the final materials.
Regardless of the material, optimize laser settings accordingly. More dense substances need higher power, while reflective surfaces benefit from special focus lenses. Conduct test cuts on scraps to fine-tune speed, frequency, and other parameters for clean results. Also, seek expert guidance to pick materials compatible with available laser wattages.
Proper selection minimizes charring, distortion, and other defects. With careful consideration of mechanical properties, intended use, and laser compatibility, you can achieve cuts with expected precision, edge quality, and efficiency. The right material choice paired with optimized laser settings will help unlock your design’s full potential.
3. Preparation Of The Laser Cutter
Before cutting, ensure you set up the laser machine correctly. Secure your material tightly on the work bed to prevent dislodging and vibration. Position and align it according to the virtual design and program the correct specifications like laser power, speed, and focal length into the software, depending on your material.
Consider performing test runs on scrap pieces to optimize these variables, observing factors like edge quality and cutting time. Adjust the assist gas pressure and nozzles to eject melted material efficiently. Check that water cooling and exhaust systems are functioning to protect laser optics from debris buildup. Clean all surfaces and optics to maximize laser focus and efficiency.
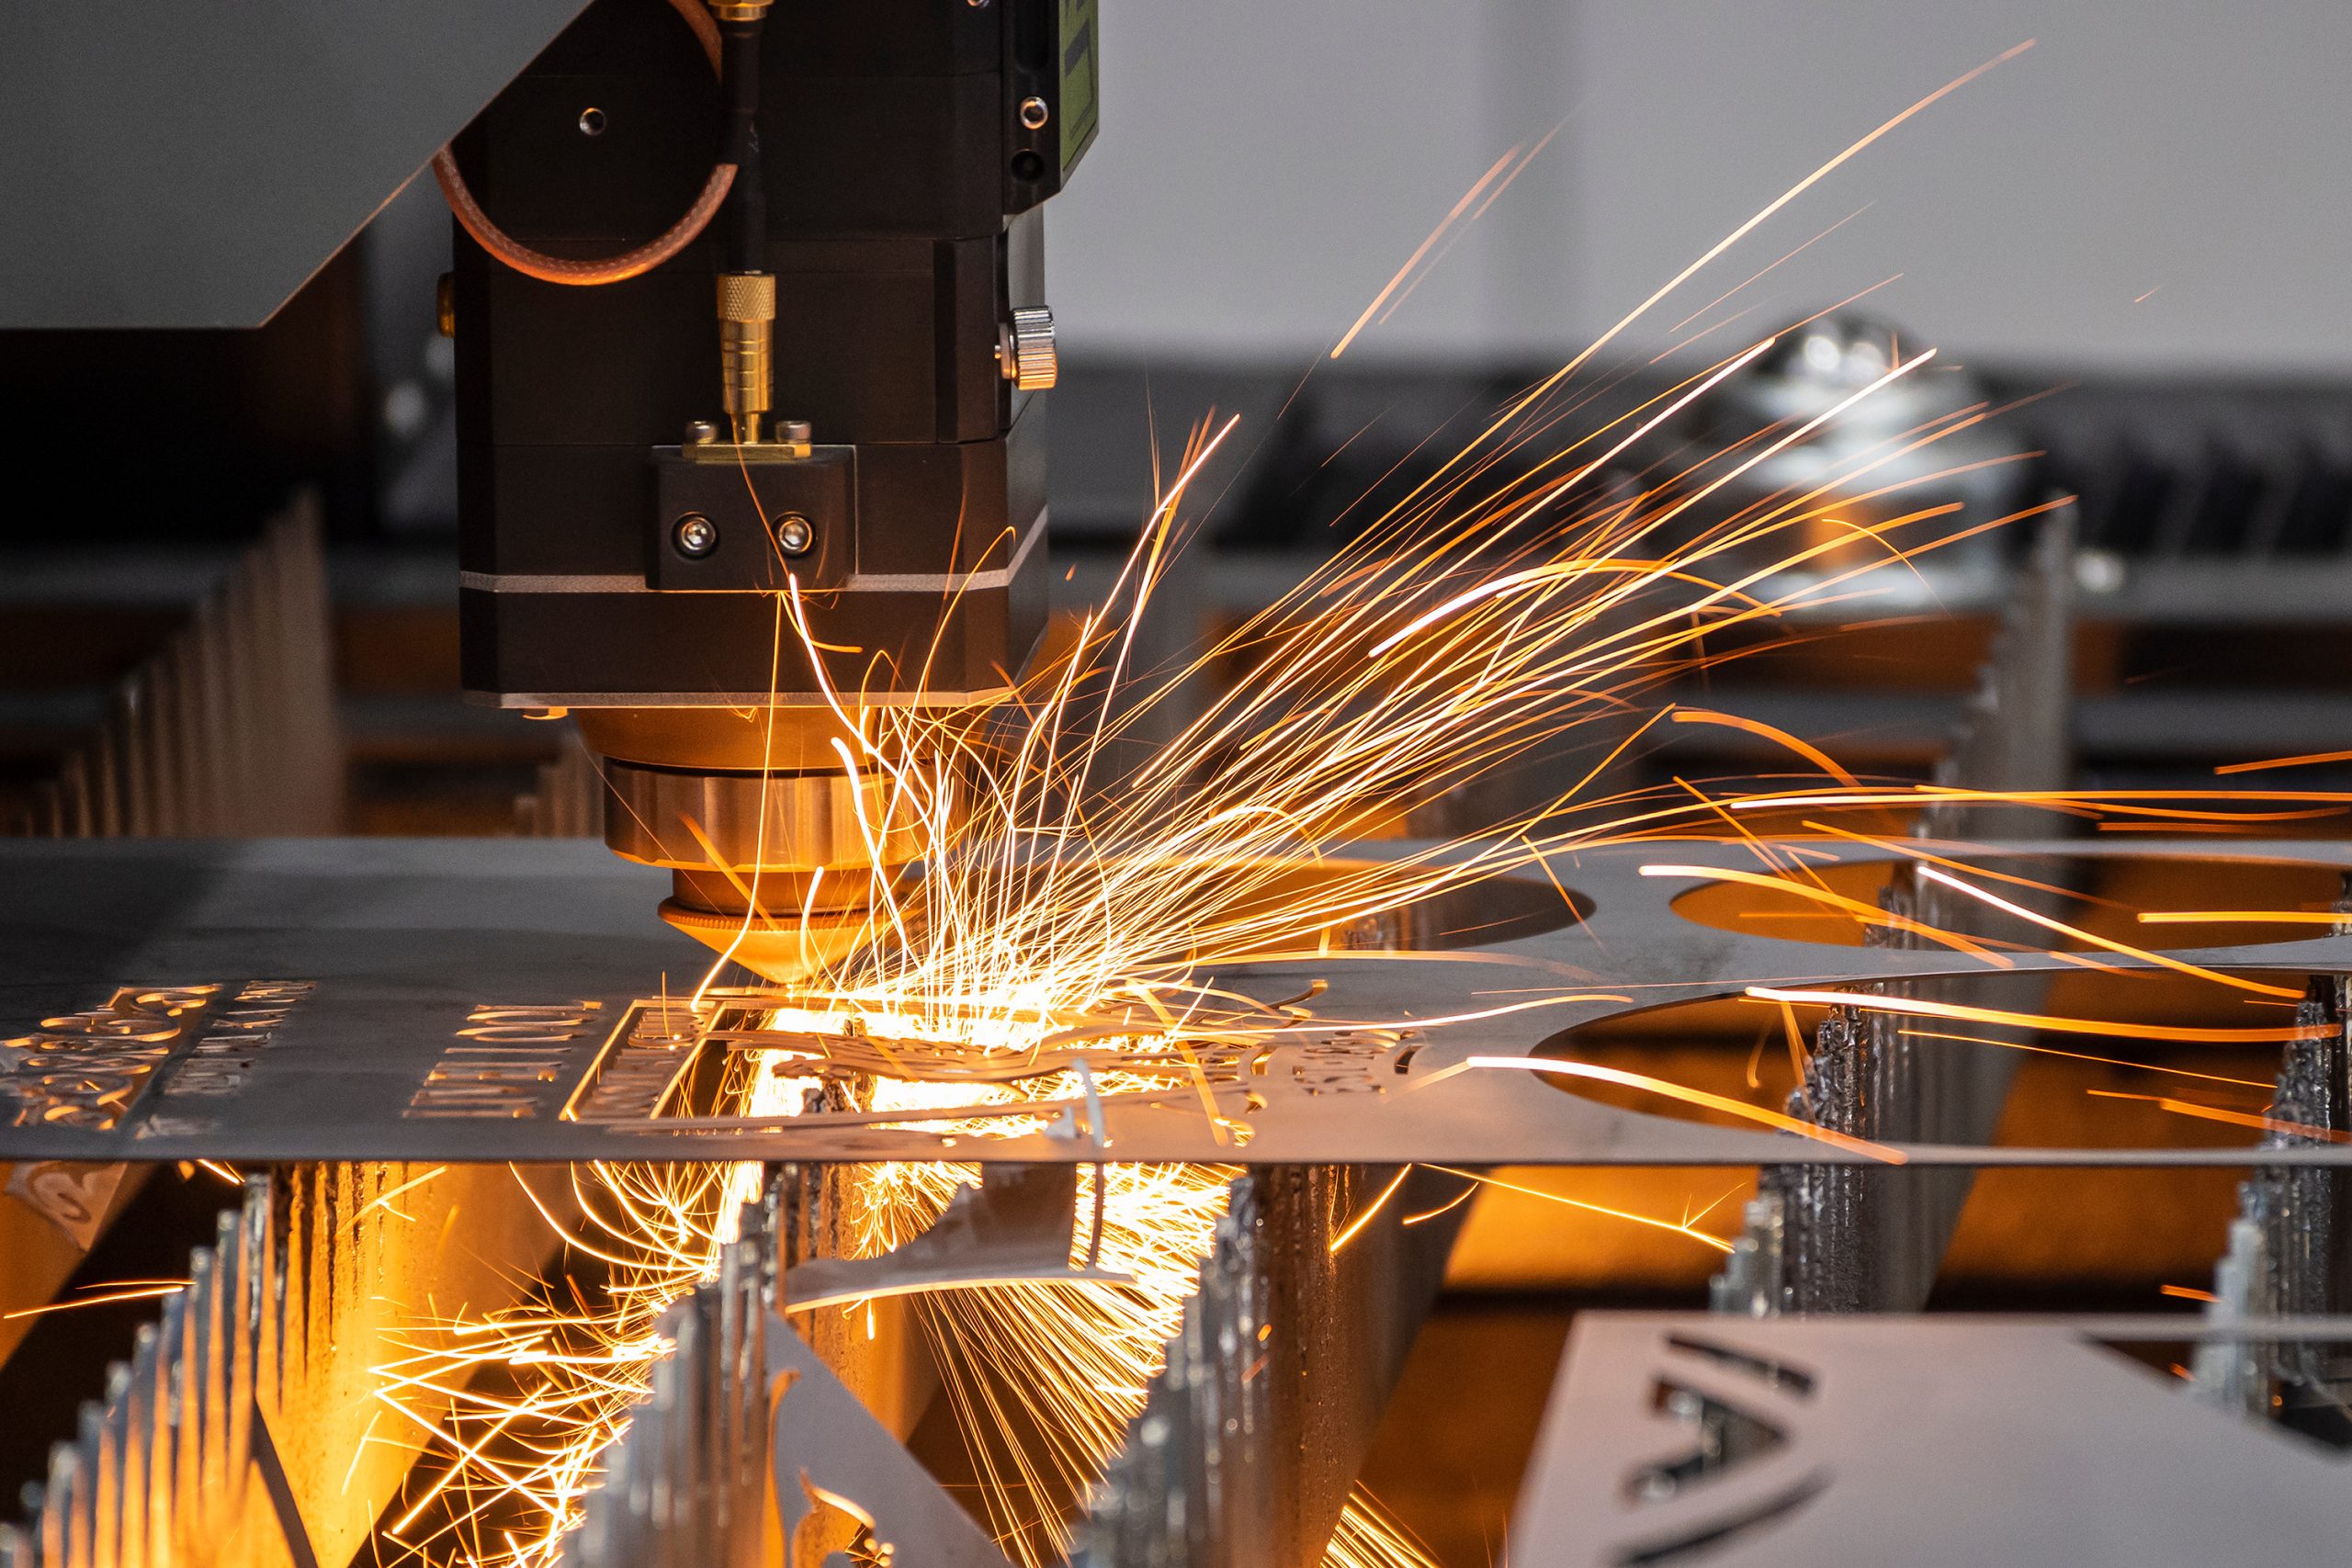
4. The Cutting Process

Once you secure the acrylic sheet and load the design file, you’re ready to start laser cutting. The focused assist gas or carbon dioxide (CO2) laser beam traces the path in the CAD program, cutting through the acrylic precisely. As the intense laser raster crosses the acrylic’s surface, it vaporizes a narrow channel, leaving smooth edges behind after blowing away excess melted material: consider pausing the job mid-cut to examine the intricate details taking shape and make any necessary adjustments.
With laser cutting, complexity isn’t a barrier. The computer-guided laser can reproduce the most delicate patterns or inner cutouts without deviation. While an unsteady hand might slip or waver when cutting acrylic manually, the laser delivers unwavering accuracy along the most complex contours outlined in the design file. This precision lets you reproduce the most elaborate concepts as physical acrylic pieces.
Periodically inspecting the emerging part as the laser does its work enables you to catch any potential issues early. Staying hands-on throughout the process ensures the acrylic cut matches your vision. In laser cutting, human oversight combines with automated technological capabilities to turn virtual designs into physical reality.
5. Quality Control And Finishing
With the laser cutting complete, remove the finished acrylic piece and thoroughly inspect it. Run your fingers along the cut edges to feel any remaining roughness and check that the laser cut extends cleanly through the entire material.
Lay the acrylic sheet on a flat surface and verify the dimensions precisely match the measurements in the CAD drawing. You can even use tools like LiDar sensors for precise measurements. Look for any burn marks or flaws that you need to address before shipping to clients
When satisfied with the initial laser cutting results, you can refine the acrylic piece to perfection. Light sanding with fine-grit paper smoothens edge irregularities left by the laser for a flawless finish. An acrylic coating seals and protects your work, preventing cracks and scratches during handling. For multi-part designs, use acrylic cement to fasten pieces together seamlessly.
The finishing touches integrate all components into one cohesive final product, showcasing your design work at its best, and attention to quality and detail ensures the result meets your standards. The finishing process transforms raw laser-cut acrylic into a polished work of art ready for display.
6. Post-Process And Assembly
After laser cutting, you may need some additional fabrication steps to transform the raw acrylic pieces into a finished product. For 3D designs, you can bend sections into shape using a strip heater or improvised brake. This allows you to contour the flat laser-cut acrylic into more complex forms. For multi-part projects, welding acrylic components together with solvent cement creates sturdy bonds critical for structural integrity.
Proper assembly technique ensures parts align correctly. Carefully join sections, following the instructions and visual aids detailing part placements. Precise dimensions in the laser-cutting process allow pieces to interlock when assembled in sequence.
Also, check alignments as you build to prevent errors. As the adhesive cures between each step, you can assemble larger pieces that wouldn’t fit together for bonding at once. The final curing and setting of all acrylic cement connections completes the structure.
Industrial Applications of Laser Cutting
a. Automotive Industry:
- Precision parts fabrication for vehicles
- Customization and prototyping
- Sheet metal cutting for chassis and body components
b. Aerospace and Defense:
- Intricate parts manufacturing for aircraft and spacecraft
- Lightweight material cutting (aluminum, titanium, composites)
- Prototyping and rapid production of components
c. Electronics and Technology:
- Microscopic precision in PCB manufacturing
- Cutting and engraving of electronic enclosures
- Production of intricate components for gadgets and devices
d. Medical Sector:
- Precision cutting for surgical instruments and implants
- Customized medical device manufacturing
- Microfabrication for lab-on-a-chip devices and medical sensors
e. Architecture and Construction:
- Precision cutting of architectural models and prototypes
- Intricate metalwork for decorative elements
- Customized fabrication of structural components
Conclusion
The laser cutting process involves a series of carefully executed stages, including material selection, machine setup, and the precise cutting and finishing of the product. Careful planning and practice help maximize quality and productivity.
Overall, laser cutting integrates seamless communication, meticulous design, material expertise, technical programming, and skilled technique. It can expertly turn virtual concepts into physical reality with proper conceptual groundwork and thorough preparation.